How To Reset Roland Jupiter-X Synthesizer To Its Factory Settings
Last Updated on June 20, 2022 by Nick
How To Reset Roland Jupiter-X Synthesizer To Its Factory Settings – The Jupiter-X as full-size version brings with the Roland-Xm a little brother on the market. This has the full range of functions, but can also be operated by battery and has a built-in loudspeaker, which makes it ideal for a wide variety of applications.
Roland Jupiter-X now has significantly more DSP performance so that they can be used four times multitimbral with 32-voice polyphony. This new DSP with more exceptional resolution also improves the sound of the device, which can also be used as a complete audio interface. Three different filter algorithms and a “hands-on” – effects section that can be controlled via potentiometers and that contain overdrive, chorus, delay and reverb are also in the new Jupiter.

How To Reset Roland Jupiter-X Synthesizer To Its Factory Settings
Time needed: 7 minutes
There are several reasons you need to reset your Roland Jupiter-X to factory settings, such as when you want to sell it or when a system error. Here’s how the settings stored in the unit can be restored to their default values.
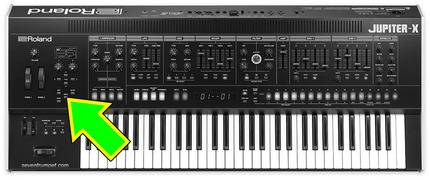
- Turn on the unit
Make sure the unit is in on position
- Press the MENU button to enter the main menu
The button is located on the common section
- Go to UTILITY by using [1] knob or ▲▼ page button
Press the ENTER button to select
- Find and select FACTORY RESET by using the [1] knob
Press the ENTER button to select
- When a confirmation message appears, select OK to execute the factory reset
Use the [2] knob to select and press the ENTER button to confirm
- When the reset is complete, turn off the unit and then turn it back on to verify the system has been reset
Done!
These instructions are based on the Roland owner’s manual. Hopefully, the article How To Reset Roland Jupiter-X Synthesizer To Its Factory Settings can solve your problem. Good Luck!
About The Author
yomita
Hi! Yomita here. Photographer and electrical device troubleshooter are some of my other interests. Writing and disseminating knowledge that helps people is something I like doing.